Monday, April 4, 2011

Frustrated by Scratches


Now that we've gotten our target depths, we need to work down through the grits making a finer and finer surface until the glass is polished. Each grit needs about 45 minutes to an hour of grinding to get the job done. To ensure that the mirror is ready for the next grit, the surface is inspected with a jeweler's loupe. If the surface is more-or-less uniformly rough, then it is ready. If there is an occasional large pit, then it is likely a feature caused by the previous grit and not yet ground out. Each grit brings the surface to a uniform roughness much smoother than the last, until we are ready to polish the glass to optical quality.
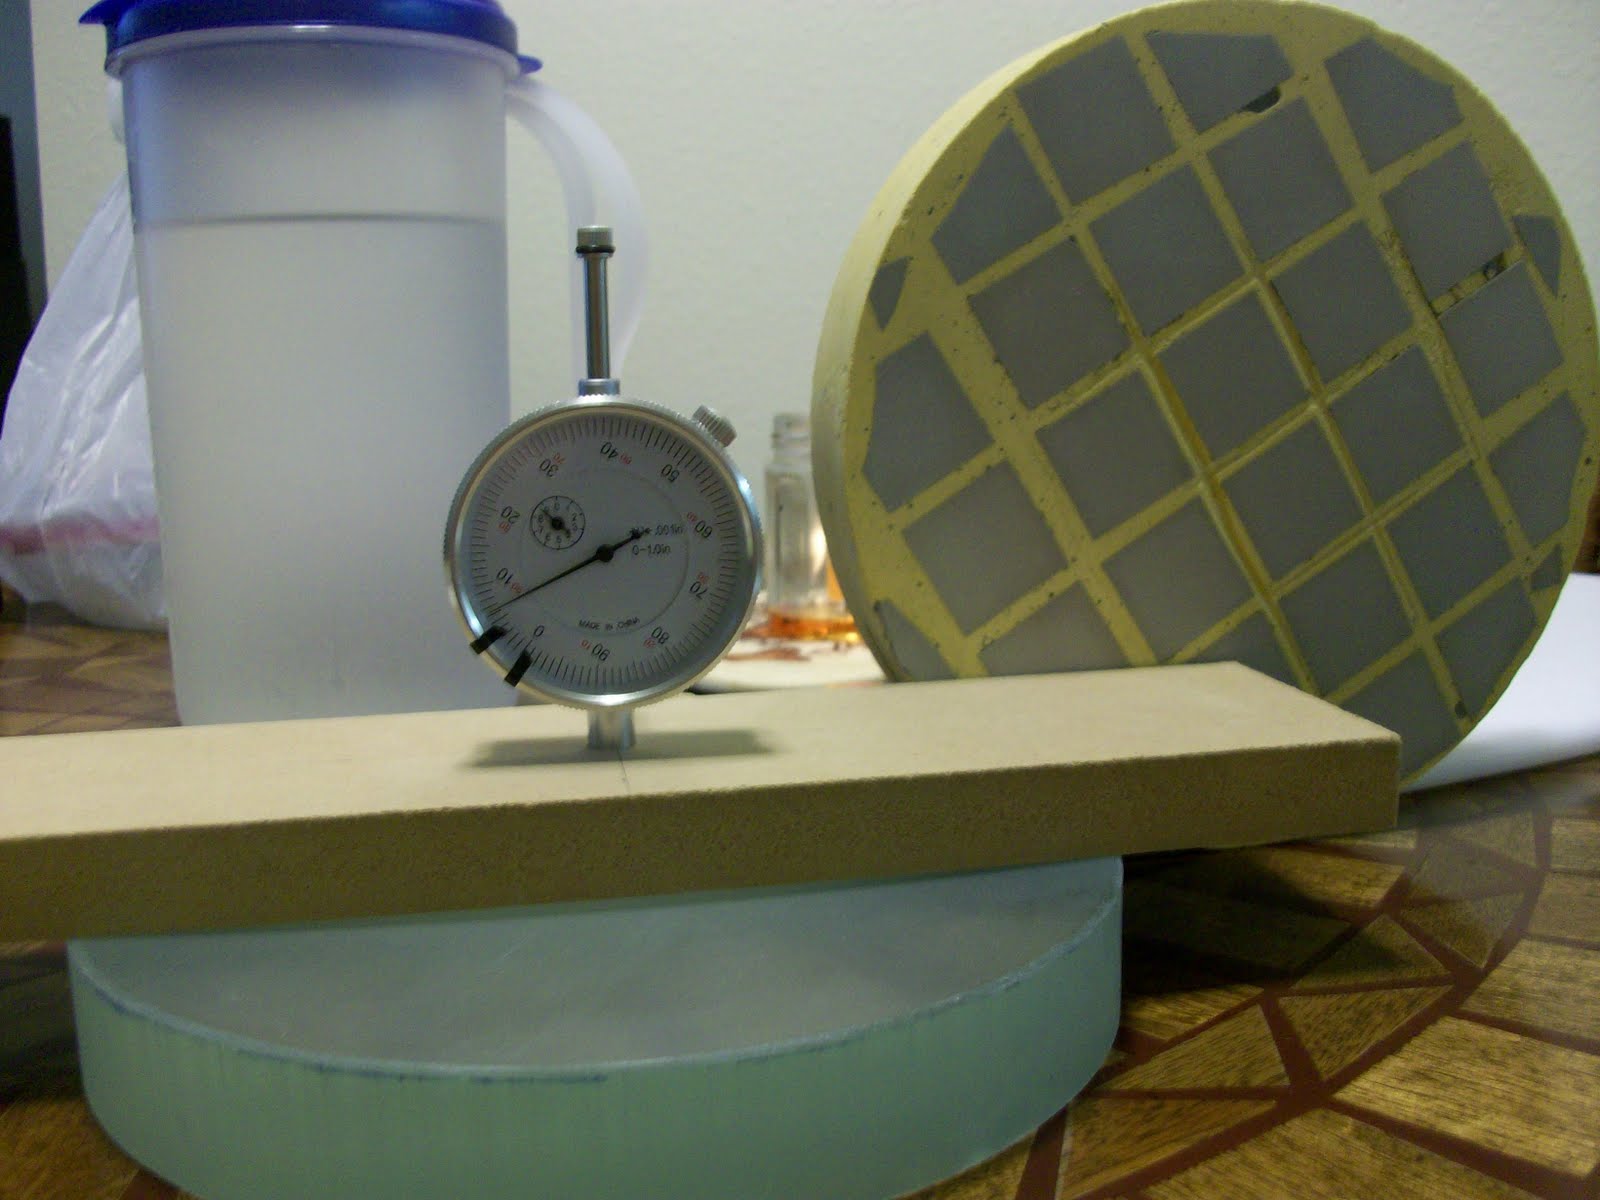
Twice now I've worked my way through two grits of silicon carbide (120/220 and 240), and two grits of aluminum oxide (25 and 12 microns), only to find a large scratch on an otherwise smooth surface. These scratches are definitely appearing some time during the 12 micron fine grinding because they are large enough that they should have been noticeable even at quite rough grinding. I have had to go back to the 120/220 grit silicon carbide just to grind the scratches out! You can see the scratch after my second go-around running across the middle of the mirror in this picture. Under the loupe it looks absolutely like a great canyon through otherwise gentle terrain.
Some consequences to this back-and-forth are:
1. I've decided to do a focal ratio of 5.5, just because it should be easier to figure and I'm getting impatient to see the mirror aluminized.
2. Cam has caught up with me on her 6 inch mirror, and now we're working together with the same grit (25 micron aluminum oxide for our next session).
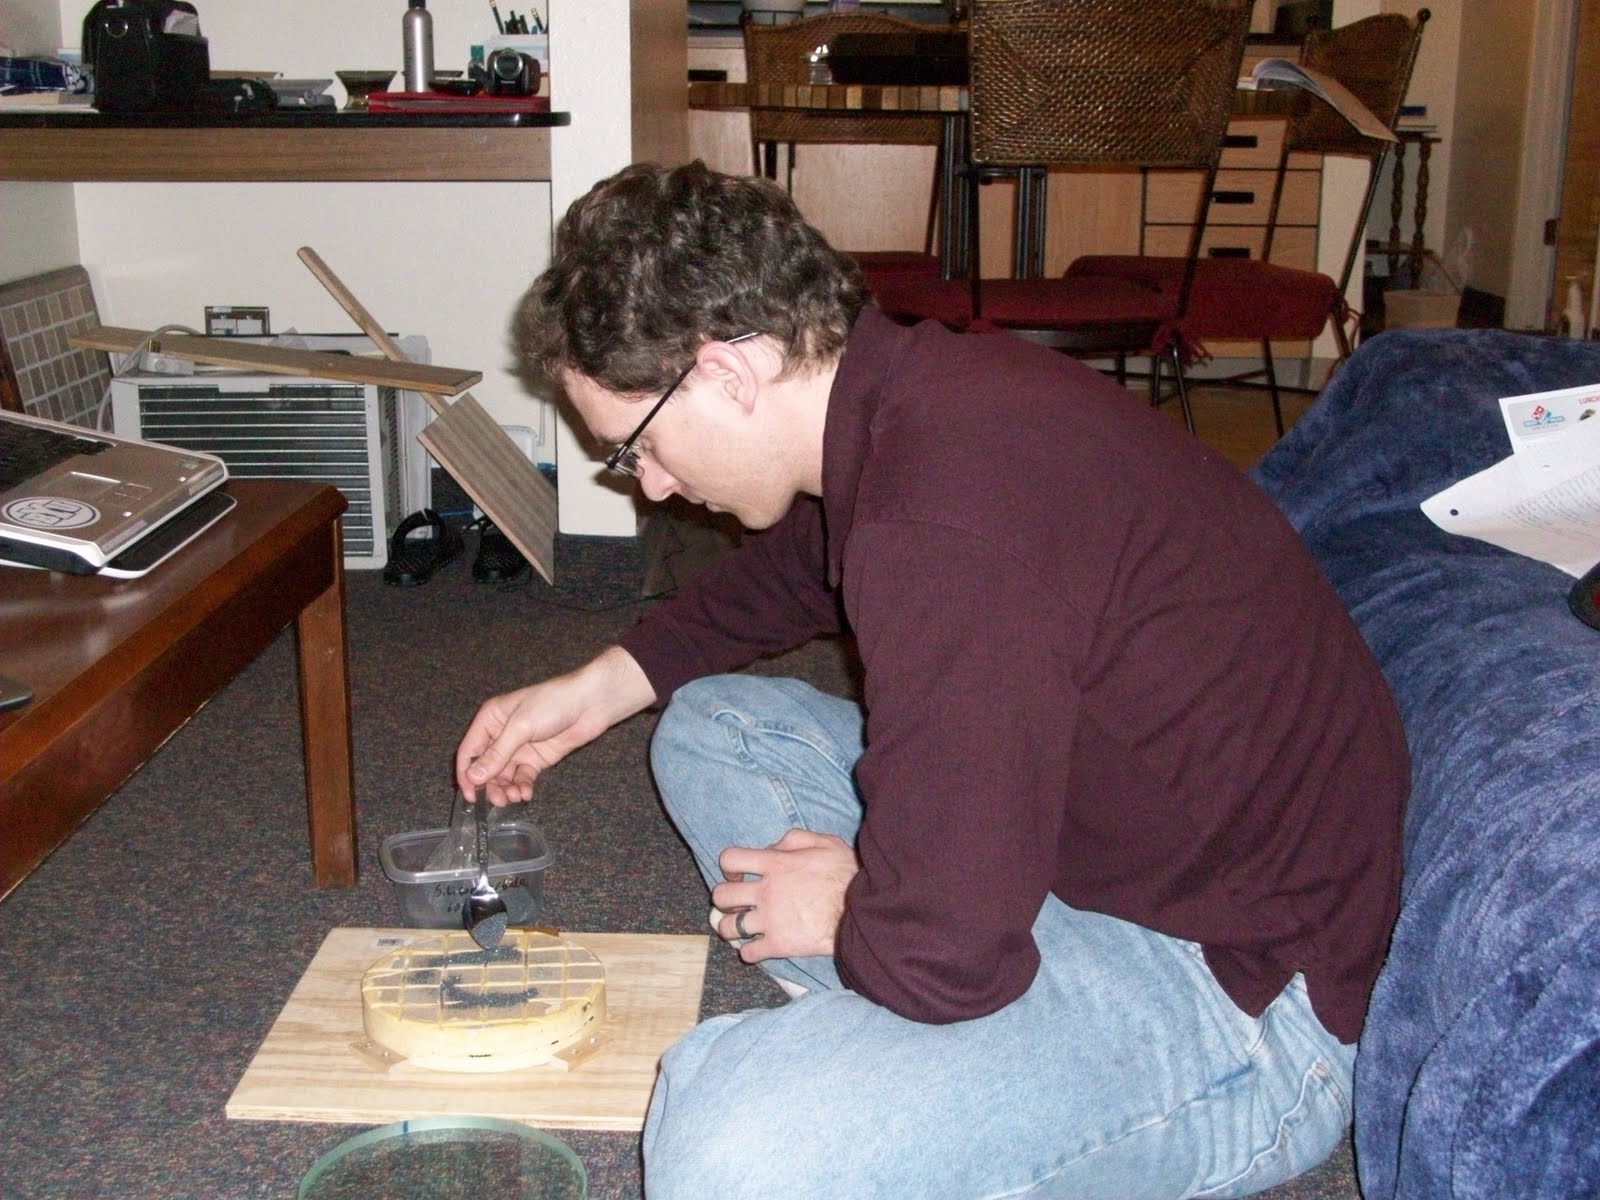
3. I no longer trust grinding with the tool on top. I suspect that coarse grit has dislodged from some nook or cranny in my tile tool and fallen onto the glass surface to create these scratches. By working with mirror on top from now on, hopefully any hidden grains will remain in their hiding spot and I won't get any more scratches.

Homebuilt Foucault Tester


This strange looking apparatus is my homebuilt foucault tester. There is a wonderful (albeit long) video on this website that explains just how to use this tool.
http://stellafane.org/tm/atm/test/overview.html
The plans for this tester are not my own, and are found on stellafane.org as well.
Once our mirrors are polished and ready for figuring we will use this tester to track the actual deviation from spherical shape.

Sunday, February 6, 2011

Maintaining a Bevel


Glass is much more prone to chipping at the edges for sharp angles (such as 90 degrees), so to protect the mirror I need to keep the edge beveled. When I was trying to get my tile tool worn down without changing the radius of curvature, the edges got ground more than usual and my bevel was almost completely ground away. To maintain the bevel, a sharpening stone (for knives) is drawn across the edge as the glass is slowly rotated. After one revolution the mirror and stone are both washed, and the whole thing is repeated. It took a little over an hour (or two Dr. Who episodes) to restore the bevel to an appropriate size.

Reached Target Depth


I finally reached my target depth! I moved the markers on my dial indicator. The one at 0 is still the target depth for an 8" f-5 mirror, but considering the bevel around my glass I'll really only have a 7.8" mirror surface. So the slightly shallower mark is for a 7.8" f-5, and I'll be satisfied if I end up somewhere between these two, closer to the shallow one.
My tool unfortunately is still not worn all the way through (the white patches are parts that have not been ground yet because the tile surface was slightly uneven). This presents a problem because these parts are not smooth yet, and may have a slightly different hardness than the worn-through parts. I switched to 120/220 grit because I ran out of 60/90, and I know I have more than enough of the 120/220. Using this finer grit it took a while, but I was able to finally wear the tile tool down until it was uniformly smooth.
In order to do this and not deepen my radius of curvature I had to alternate grinding with the tile on top and the glass on top, which ultimately removed glass from the edges and center equally. I overcompensated a bit, though, and ended up too shallow. I'll need to correct this before I move on to even finer grits.

Sunday, January 30, 2011

The Process of Grinding a Mirror


To actually grind the mirror, first some silicon carbide grit (later on we'll use finer sizes and softer compounds) is sprinkled on the tile tool. Then the tool is sprayed with water (mostly for health reasons- so that the ground glass dust is stuck in a slurry and can't be inhaled). Using moderate pressure the glass is pushed across the tile tool surface back and forth. Every few strokes the tool and mirror are rotated opposite ways. Every few minutes some new grit and new water are added. Every twenty minutes or so the glass and tool are both rinsed off in a bucket of water so the grit/glass slurry can't build up too much.

The first stroke, or "chordal stroke" has the glass overhanging the tool by about half, digging out the center of the glass. The "W stroke" is just like it sounds, moving the mirror across the tool in a W pattern. It will take the glass to a sphere, then a parabola, and eventually a hyperbola if done for too long. The "normal stroke" is just forward and backward with the mirror squarely on top of the tool (instead of offset by half like in the chordal stroke). All of these pictures show the chordal stroke.

In the end of this stage the glass should have a spherical curve ground to the proper radius of curvature. This spherical curve will later be polished with finer grit, and only at the end is the sphere figured into a true parabola.

Progress on Rough-Grinding


To measure my progress on rough-grinding the mirror, I mounted a dial indicator in a piece of high-density particle board. I figured that the smooth back of my mirror is the flattest surface I have, so I calibrated my zero point on that. The two markings indicate my target depths, exactly 0.1 inches for an F-5, and about 0.01 inch less than that for an F-5.5.

The rest of these pictures are taken at about 1-2 hour intervals. i.e. This whole page represents about seven or eight hours of grinding the mirror. I started including the tool in the pictures to show how the tiles have worn down from grinding the mirror. As the glass becomes concave, the tile tool becomes convex and by the end of rough grinding they should both hopefully be spherical.

Before I had reached 0.05 inches of depth, I was using the "chordal stroke" to grind. This stroke will aggressively dig out the center of the glass, removing the bulk of the glass rather quickly. The tile tool shows how this stroke wears on the sides of the tool much more quickly than the center. For the mirror it is the opposite, and the 0.05 mark was reached within a few hours of grinding.

Next I moved to the "W stroke," which should quickly bring the shape into a sphere after the center has been ground out. If done for too long, though, the W stroke will go beyond spherical and create a parabola of the wrong focal length. Notice how the tile tool is being worn more and more toward the center.

I had hoped to have every part of the tile tool ground before I reached my target depth of 0.1 inches, but as the final picture shows that didn't happen. I'll have to switch from the W stroke to the "normal stroke," which is meant to maintain a spherical shape but continue digging deeper into the glass and tool. When the entire tile tool is worn through, I can be sure that both the tool and the glass have spherical curvature. By alternating between grinding with the tool on the bottom and the glass on the bottom, I can maintain that curvature at a proper radius.

Telescope Project

As a last hurrah to our undergraduate studies we've decided to each build a telescope in the next few months! Mine (Matt's) will have an 8-inch mirror, with an F-5 focal ratio (less magnification but more light-gathering) for looking at nebulas, galaxies, and star clusters. Cam's will have a 6-inch mirror with an F-9 focal ratio (more magnification but less light-gathering), and will be ideal for planetary and lunar observation. Cam's mirror will actually be made out of old ship porthole glass (picture at left)! This the only really cheap source of thick glass, but at only 3/4-inches it is still really not thick enough for large mirrors. The glass came with 10-inch diameter, but Joe has offered to trepan two 6-inch blanks out of the original portholes. One will become the mirror, and the other will serve as a grinding tool. Because an F-9 is much easier to grind than an F-5, I've gone ahead and started on mine even though Cam doesn't have her glass trepanned yet.

My glass was a gift from Joe. He bought (at a good deal) a mirror kit which included an 8-inch pyrex blank, and an 8-inch plate glass blank. The plate glass was intended to be the grinding tool, but he built a tile tool instead and gave me the glass to use as my own mirror blank (he also made for me a tile tool to use for grinding).

Rather than the traditional method of grinding atop a large barrel or a plywood pedestal, I've employed a workspace which can be pushed under the couch when not in use. This also allows me to watch shows on the Internet while I work. Here is a picture of me just before I marred the flat smooth surface of my mirror blank by grinding. Hopefully the next time it is that smooth it will also be in the shape of a parabola.